概要
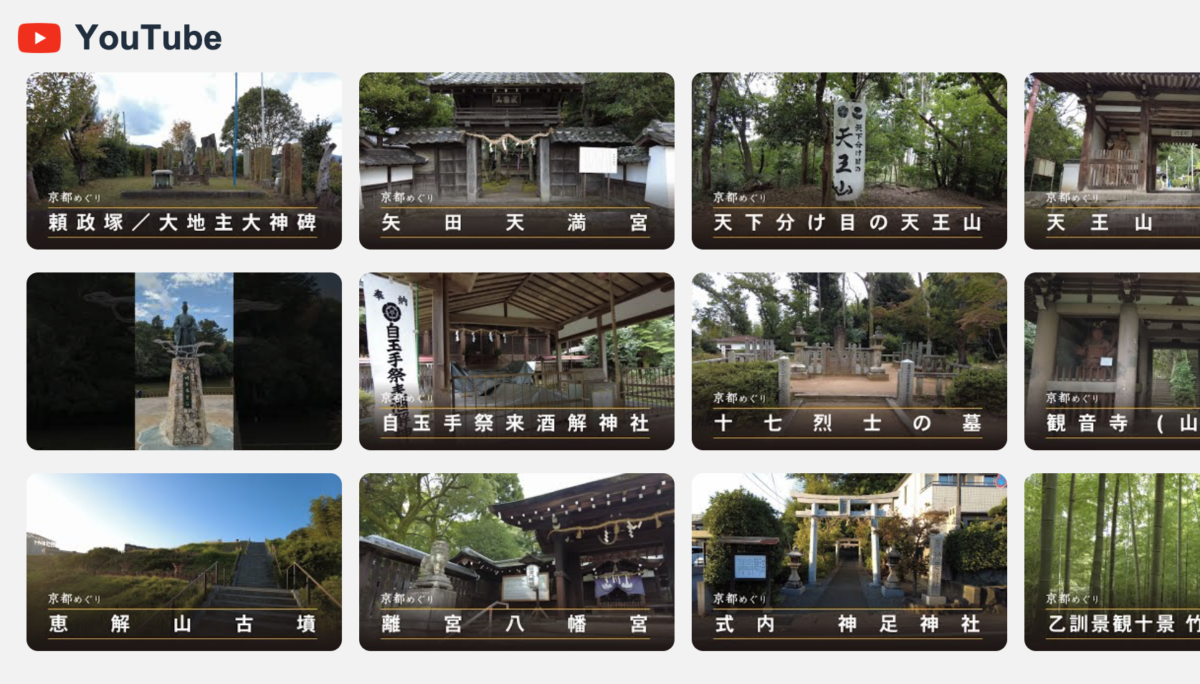
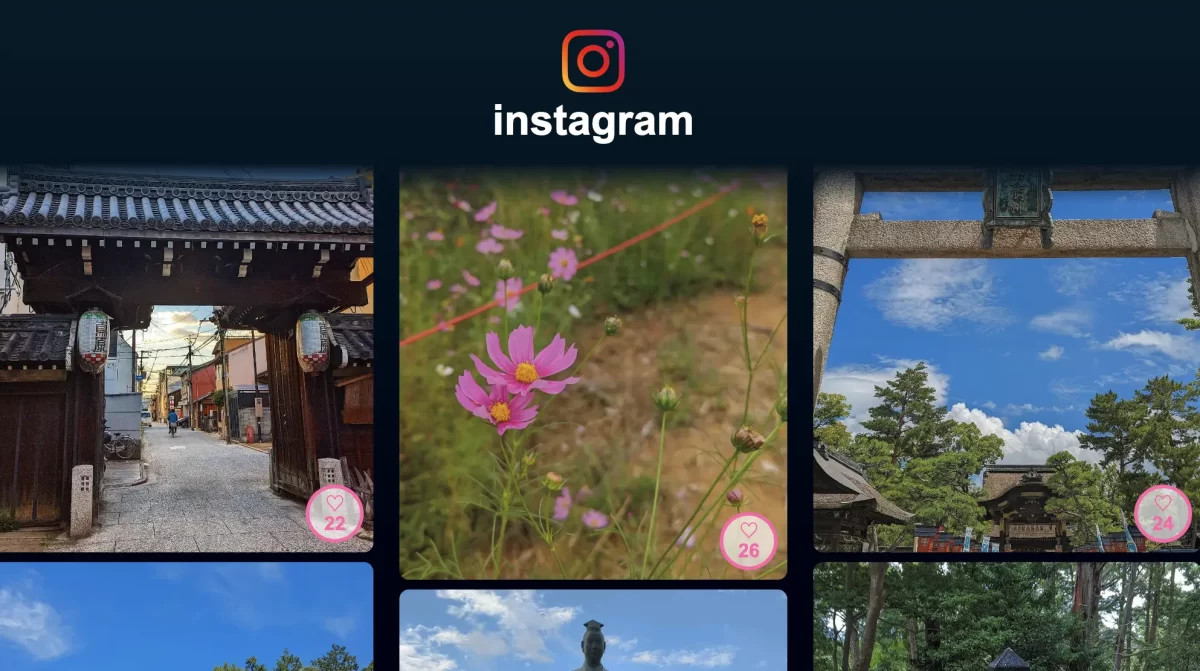
下記のように要素を透過グラデーションする方法です。
これを使用すると背景に溶け込ませるようなグラデーションにすることができます。
サンプル
HTML
<div class="mask-image-wrap">
    <div class="mask-image-main">
        <img loading="lazy" src="https://ilr.jp/wp/wp-content/uploads/2022/10/wordpress-youtube-1200x684.png" alt="">
    </div>
</div>
CSS
.mask-image-wrap{
background-color:#000000;
padding:3rem;
}

.mask-image-main{
    -webkit-mask-image: -webkit-gradient(linear, left top, left bottom, from(transparent), color-stop(10%, #000), color-stop(90%, #000), to(transparent));
    -webkit-mask-image: -webkit-linear-gradient(top, transparent 0%, #000 10%, #000 90%, transparent 100%);
    mask-image: -webkit-gradient(linear, left top, left bottom, from(transparent), color-stop(10%, #000), color-stop(90%, #000), to(transparent));
    mask-image: linear-gradient(to bottom, transparent 0%, #000 10%, #000 90%, transparent 100%);
   line-height:0;
}
.mask-image-main img{
width:100%;
}
mask-imageにlinear-gradientでグラデーションを適応します。
今回のサンプルは上から下に上から高さ0〜20%までに透明から不透明にして、90%〜100%までに不透明から透明にしています。
mask-image: linear-gradient(to bottom, transparent 0%, #000 10%, #000 90%, transparent 100%);赤の部分が透明、青の部分が不透明になります。
最後に
今回はmask-imageにグラデーションを使用しましたが、画像やclip-pathなどを使用すると色々な表現ができます。





 お問い合わせ